Are you new to this?
Go and see what this is all about
Go to ETSY Store to get this product
Do you like what you see - hit a TIP JAR button below
How to Model and Draft a Modern Side Table: CAD Design, Construction, and Technical Drawings
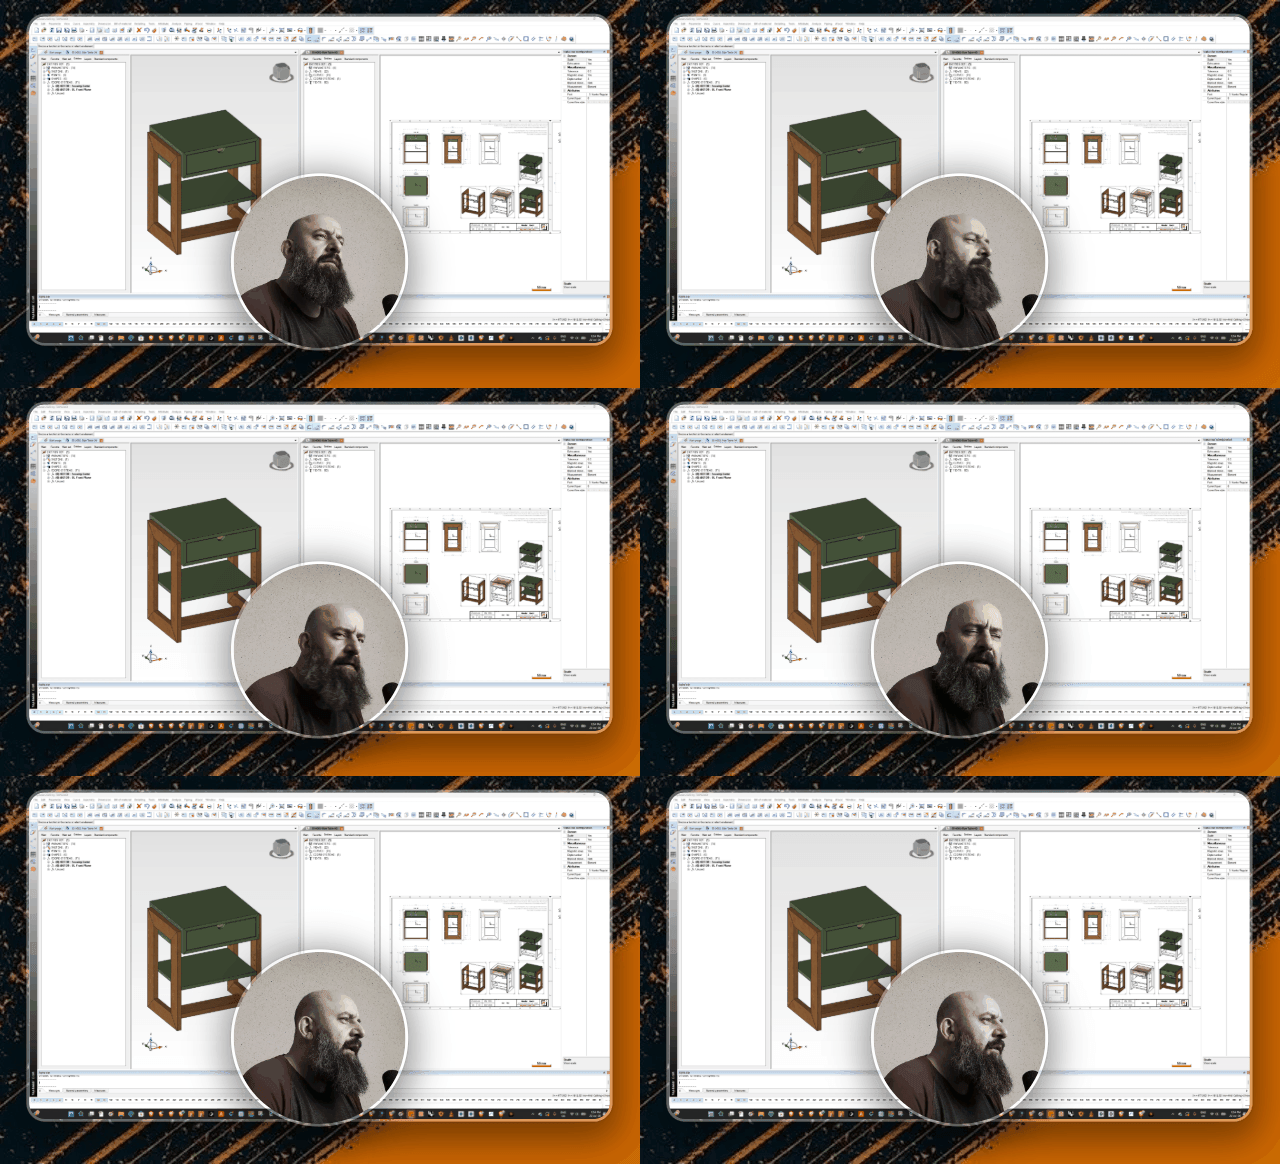
Creating a well-proportioned side table requires careful attention to overall form, structural integrity, and practical joinery. This guide summarizes the complete modeling and drafting process for a compact freestanding side table featuring a side-frame support, an adjustable shelf, and a single drawer. The design prioritizes clean lines, dimensional flexibility, and efficient workshop production.
Parametric Modeling Approach
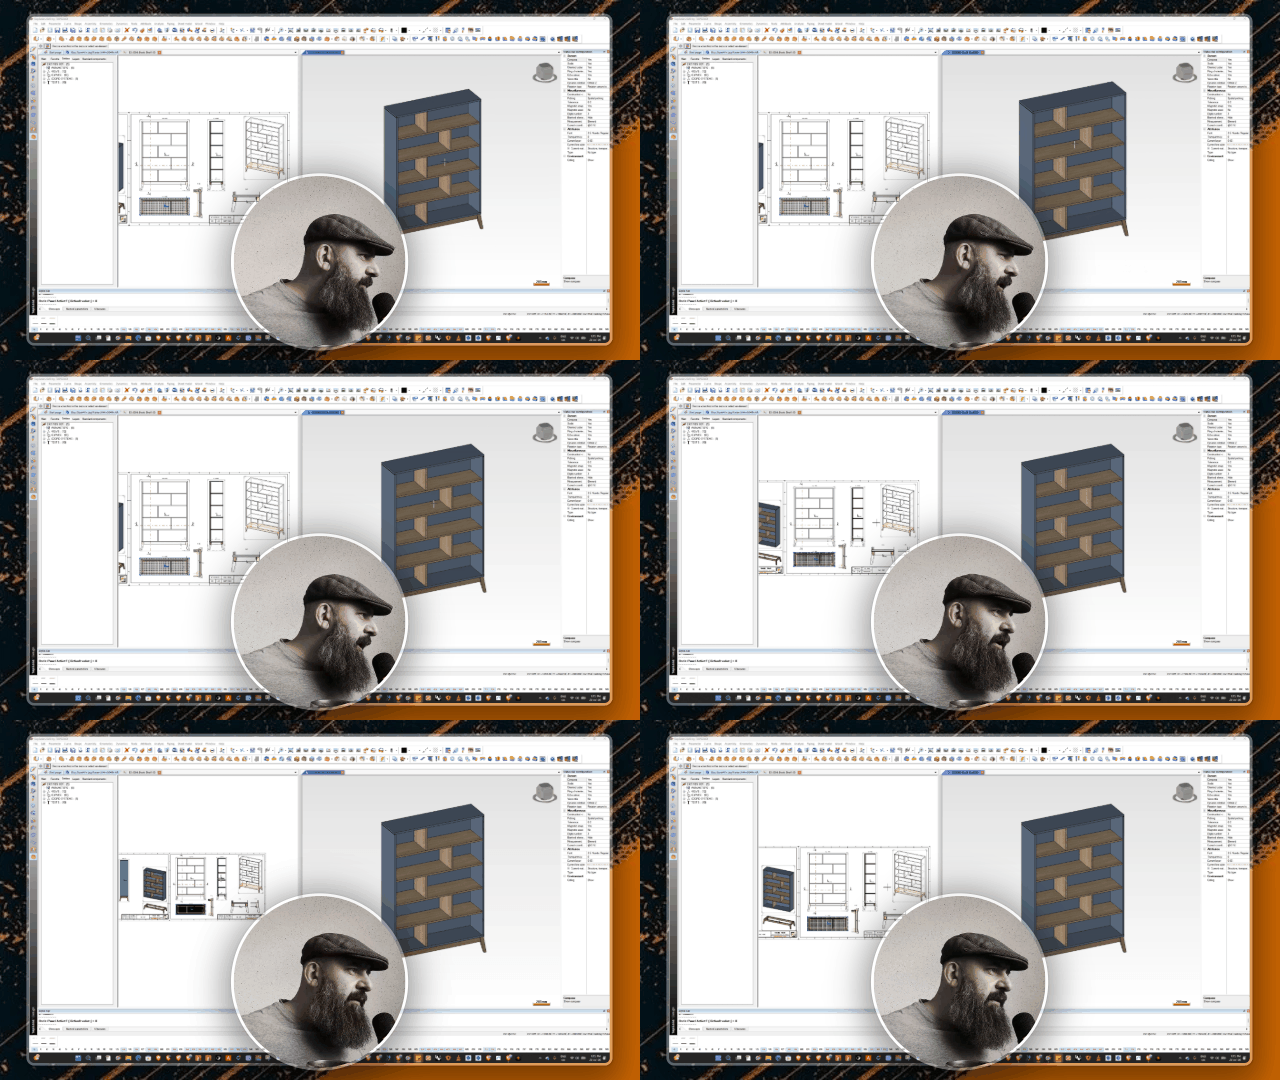
The model is driven by a single primary body that establishes the overall width, depth, and height. Adjusting these core parameters automatically updates the entire assembly, allowing rapid exploration of proportions. For example, increasing the overall width to 600 mm or altering the depth causes all related components to adapt while preserving design intent.
This parametric foundation keeps the geometry consistent and simplifies later modifications. Layers are organized into logical groups so individual elements can be isolated or hidden quickly during modeling, detailing, or presentation preparation.
Key Structural Elements
The table consists of several coordinated parts:
- A vertical side-frame leg that supports the upper cabinet section.
- An adjustable shelf fitted with routed pockets that accept standard shelf pegs.
- Bottom legs braced by a single cross-member for added stability and consistent spacing between the top and bottom rails, which improves the function of the adjustable shelf.
- An upper cabinet with mitered corners and one drawer.
- A recessed back panel that sits slightly inset, reducing the risk of edge splitting over time and allowing the piece to stand freely beside a sofa or similar furniture.
Drawer boxes are constructed from birch plywood finished with clear lacquer. This material choice provides reliable strength and a clean, consistent appearance. The drawer front incorporates a simple cut-out handle; the upper edge of the drawer box is slightly dropped so fingers can slide comfortably into the opening. All machining remains straightforward.
Joinery and Assembly Methods
The cabinet box uses mitered corners reinforced with masking tape during glue-up for accurate alignment. Drawer boxes are assembled with dominos. The side frame can be joined with dominos or lamellos, and the connection between the side frame and the cabinet box is completed with screws plus one or two dominos, lamellos, or biscuits. These methods deliver a strong yet rapid assembly suitable for a piece that does not carry heavy loads.
Mitered joints are preferred over butt joints because any future movement or minor checking remains less visible.
Technical Drawings and Production Files
The accompanying drawing set comprises two A3 pages plus a full-scale 1:1 layout:
- Page 1 presents front, top, and side elevations, a see-through top view, and perspective illustrations. Key components (drawer, box, side frame, cabinet, and shelf) are highlighted or grayed out for clarity. Components can be grouped for batch production communication.
- Page 2 focuses on details: an enlarged drawer view, a section through the drawer showing internal and external dimensions for Blum runners (drawer thickness typically 15 mm, optionally 12 mm), a section through the leg frame illustrating the set-in cross-member and recessed back, and close-up dimensions for frame widths, runner positions, and overall measurements.
Downloadable files include a two-page PDF and a 1:1 DXF suitable for tracing, CNC machining, or laser cutting.
Design Notes
Furniture design remains personal; proportions and details often combine familiar references into a coherent whole. The resulting side table balances visual simplicity with practical adjustability and robust construction. Grouped layers, clear sections, and production-ready drawings make the model easy to refine or manufacture in quantity.
Visit the project page for the full video walkthrough, downloadable drawings, and related resources.